I had all Saturday afternoon free, and I took the opportunity to finish cleaning the Remington. I had the machine completely dis-assembled (as far as pieces that will come off), and finished cleaning and oiling it. In some parts, and especially inside the metal body of the machine, it was so dusty that the easiest fix was to take the Dyson stair cleaner attachment to it. This vacuum cleaner did a great job of getting all the dust out - the first time!
The pieces of the hand wheel assembly. For your reference, the washer (middle piece) is just a little larger than a quarter - closer to the size of a dollar coin, if you've ever seen one of those Sacagawea dollar coins that were all the rage many years ago. Can you picture the sizes of the other two pieces from that?
The nice and shiny clean underside of the Remington
I took apart the whole tension assembly, cleaned it, and put it all back together again. It's simple. I've done it before. The key is lining all your little pieces up in order on a paper towel or old newspaper so that you don't forget the order they went in.
See, all squeaky clean and shiny, and looking oh so beautiful! It's completely re-assembled now, except for screwing the mounting bracket and motor on the back.
And see, it even threads the bobbin and sews! It has some other minor tension and timing issues, but nothing I haven't seen before.
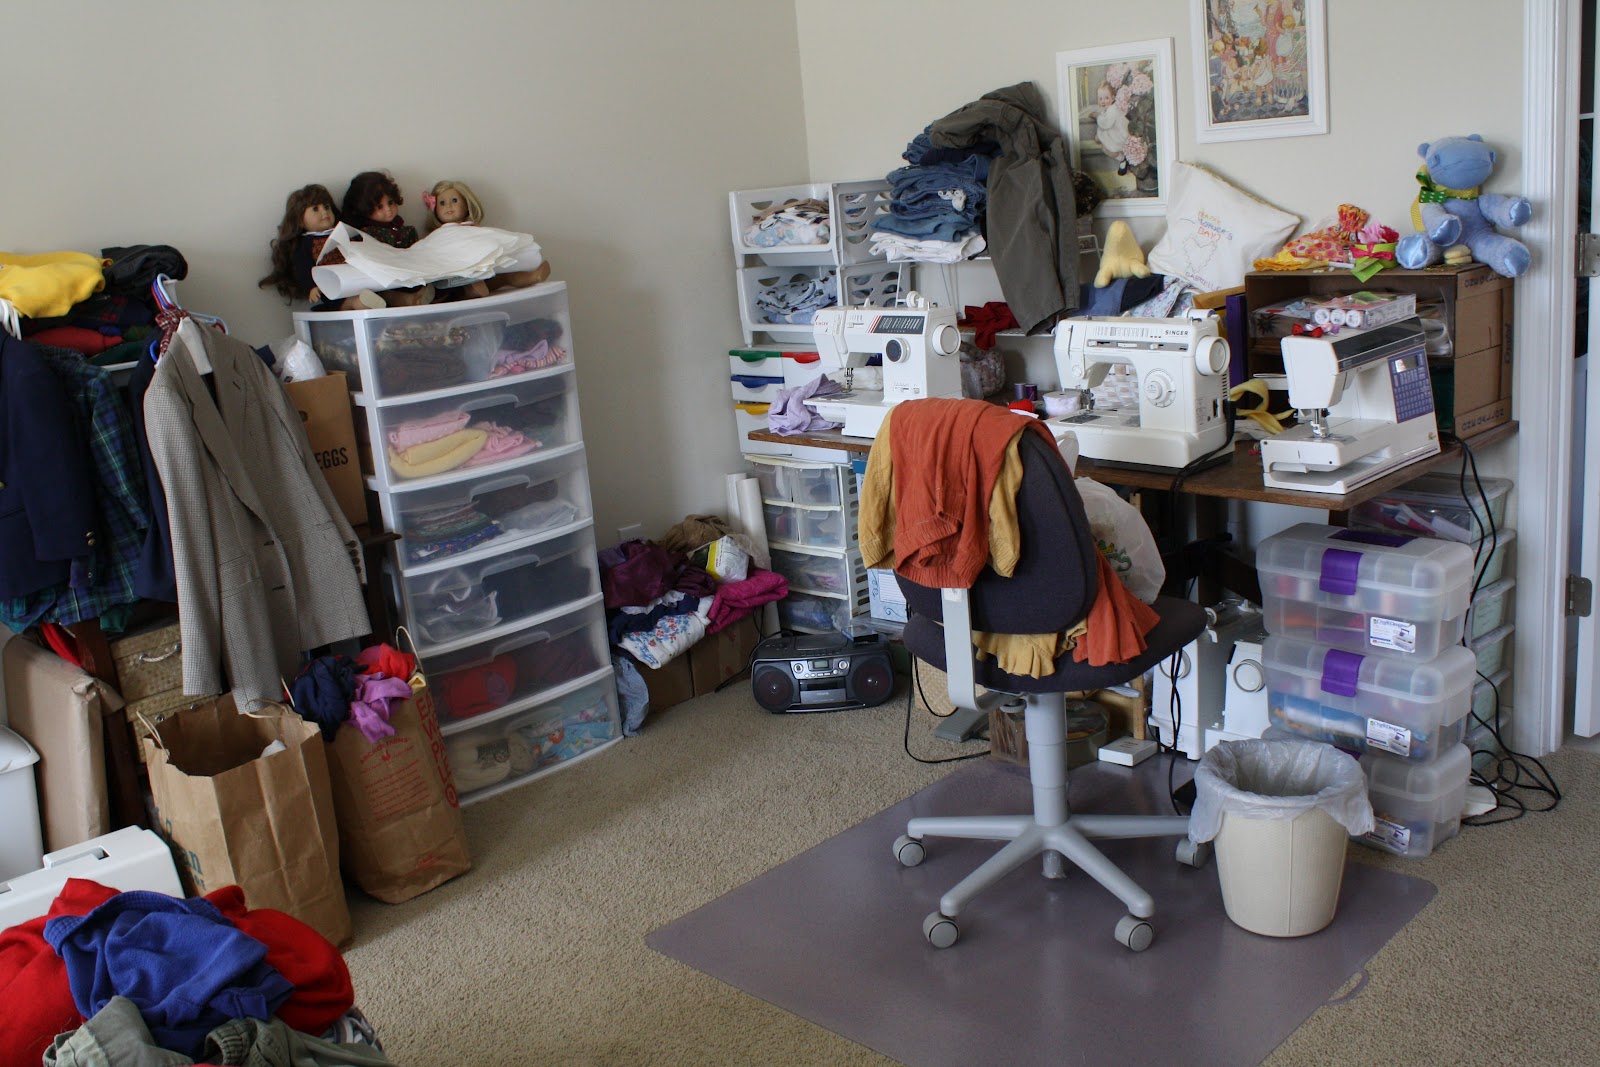
That's what I did in the basement next door on Saturday afternoon. This is what I did in the Master Bedroom/Sewing room on Saturday morning:
Before
After
I'll let the pictures speak for me. Suffice it to say, the sewing area is now useable again! :)


No comments:
Post a Comment