Wednesday, September 5, 2012

313 Photography Challenge - May

313 Photography Challenge photos for the month of May! Enjoy!

Saturday - May 5
  We had the pleasure of celebrating my grandmother's 84th birthday with going to eat! This was my delicious ice cream dessert!

 Monday - May 7
 No editing done on this one - I love how the colors came out so deep and rich in this sycamore ball on a bed of moss.

Tuesday - May 8
A bright yellow flower in our grandparent's yard

Friday - May 11
A fun pumpkin hat I designed for TTB

Saturday - May 12
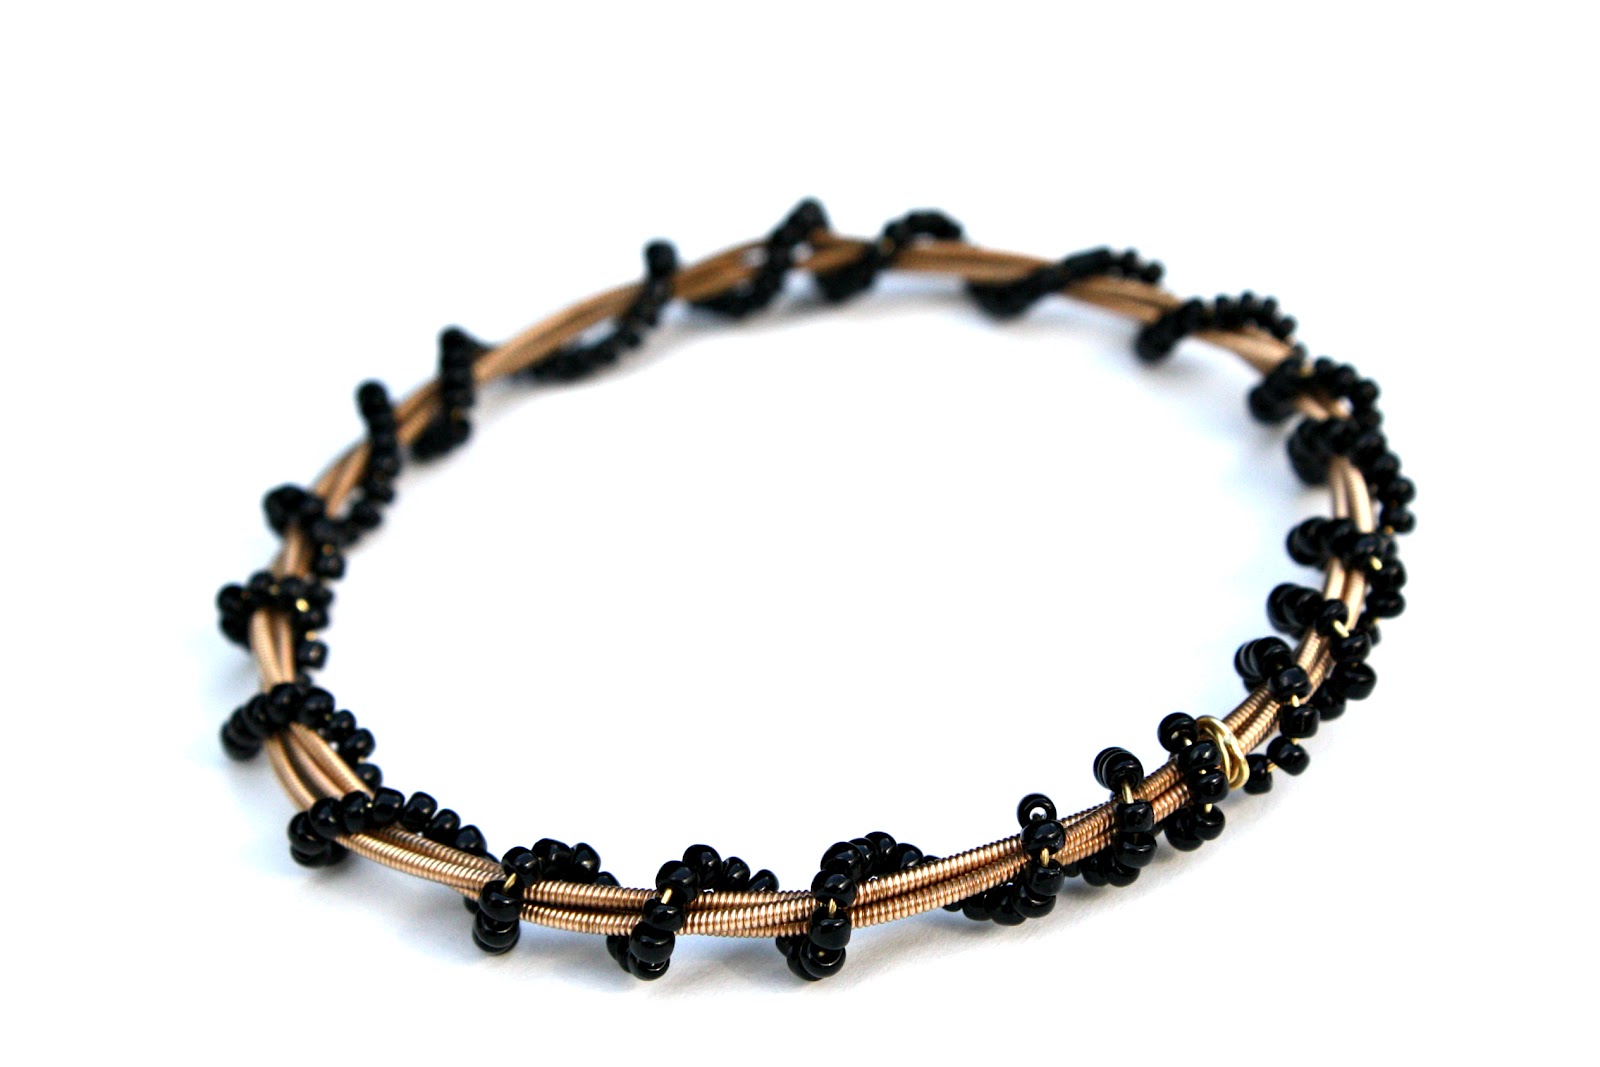
Experimenting with depth of focus on a bangle bracelet

Tuesday - May 15
Lovely early-morning clouds

Thursday - May 17
The Remington. This was also the featured picture for my guest post this weekend on a friend's photography blog: 4 His Glory: Vintage Machine

Friday - May 18
Part of a newborn outfit I made for a friend's new baby. You can read more about it here: Pink Cherry Newborn Outfit

Saturday - May 19
A new newborn cocoon and hat set for TTB

Monday - May 21
Ssssssssssssnake! Can you spot me?

Saturday - May 26
 Playing around with depth of focus again on a new bracelet I designed for CS

Monday - May 28
My little brother at our church's Memorial Day picnic

Saturday, August 25, 2012

313 Photography Challenge - April

Can you believe I haven't posted by photo challenge pictures since early April? I can! :) I can't believe time has gotten away from me like this.
In order to catch up, I'll be posting them by month until I catch up! I'm finding I've missed alot of days this summer, but I'll share what I did get!

Saturday - April 21
Yummy cheesecake from Costco for a birthday party

Tuesday - April 24
 A new ruffled ribbon yo-yo flower headband

 Wednesday - April 25
My sister got a new haircut and we had fun doing and outdoor photo shoot that evening

Thursday - April 26

 I love this cute little fellow, designed from some of my brown minky dot fleece and an odd piece of soft pink velour.

 Friday - April 27

I had fun doing a photo shoot with handsome 3-week-old (at the time!) William. Aren't his onesie and little jeans just too adorable?!

Saturday - April 28
Boys and working in the kitchen - they always have to find a new way to do things!


Tuesday, August 7, 2012

Of Upper Tension Assemblies and a Few Small New Projects

I've finished a few smaller sewing projects lately besides doll clothes, and I've made most of these on the Remington. The more I use that machine, the more I love it! Unfortunately, there are a few parts on it that are a little if-y and I'm expecting to break or stop working any time. One of them is the upper tension assembly, and as predicted, it stopped working in the middle of a project. Thankfully, I had a backup plan.

To finish the project, I just took out the numbered dial, turned the spring around, and screwed the end back on. These little Singer 15 clones are wonderfully resilient and I was able to finish the project with nearly perfect tension. After the project was done, I switched it out with the tension assembly and side plate from it's new twin brother (I'll post about that one soon!) I'm either going to try to fix this tension assembly and put it back on, or get a new one if it's past all hope - and by new one, I mean trying to find another parts machine that I can salvage this piece from. I don't like putting aftermarket parts on these machines because I'll be getting plastic pieces, and I don't want to start putting plastic on these beautiful all-metal machines. :)

Now, on the the projects...

 The first one was a reversible checkbook cover. I don't remember where I got the idea - it could have been from looking at the plain blue plastic checkbook cover and thinking how nice a prettier one would be! I'll be putting together the tutorial pattern soon to sell on Etsy, so watch for another post just about this project!

 Another project along the same lines was a strap cover for my DSLR camera. Isn't this one so much prettier than the plain Canon DSLR strap? Like the checkbook cover, I'll be putting together the pattern soon to sell on Etsy, so watch for another post soon!

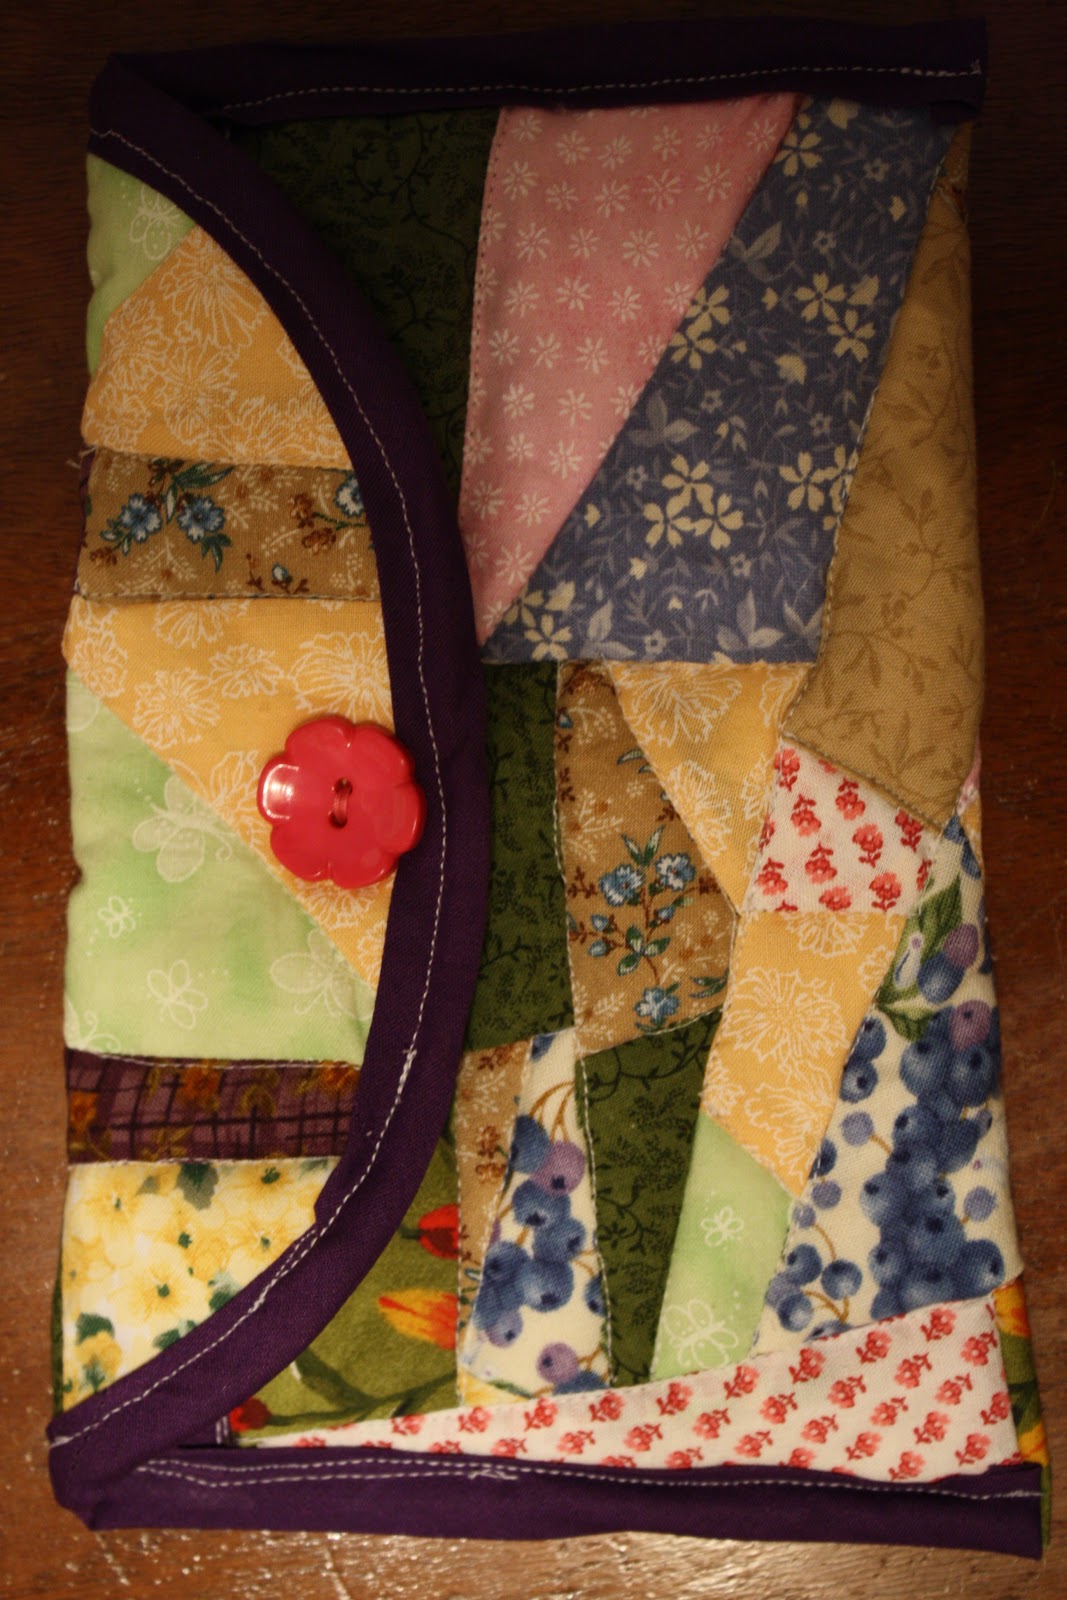
I made this small quilted tote as a last-minute birthday gift for a friend. I based it off a project from the quilting book "Start with Scraps", but made a few changes such as closing it with a snap instead of a button and buttonhole, and changed the size. This was a fun introduction to quilting, even though it was a really simple one - I just sandwiched the batting in between my quilted piece and my lining and quilted along all the seams of the quilted piece.

Saturday, August 4, 2012

Some New Doll Clothes

I got inspired this past week by some fabrics in my stash, namely the cutoff leftovers from a recent alterations project for a friend, and an old dress I had kept for fabric value. I have a hard time deciding which is my favorite of the two outfits.

The black and white t-shirt and capri set was inspired by the leftovers from a recent alterations project. I had turned flared (bell) sleeves into straight ones, which of course is just cutting off a triangle of fabric. So, I was left with two triangles of funky black and white knit fabric. It seemed a shame to throw them away, so I turned them into cute doll capris. I'll explain what I did, and for anyone with some sewing experience, it should be easy enough to figure out.

-I cut off the ends of the triangles (picture below), and cut a notch from the top for the crotch of the pants. I then sewed them up the side, and added those triangles I cut off back in at the back to make the pants big enough around the waist. I then finished sewing them together up the back, underneath, and up the front. They're fitted, and I wanted to keep the bulk around the waist to a minimum, so I just turned the edge under and sewed it with a decorative zig-zag stretch stitch.

The red, white, and blue nautical t-shirt and skirt set was concocted from a red and white striped knit dress I had kept and put away for it's fabric value. I added a little denim from my stash, as well as some red rick-rack from my stash to finish this cute outfit. I even had a chance to try my new Steam-A-Seam2 double sided fusible interfacing with the little denim anchor applique on the t-shirt. I drafted the skirt pattern, making it short and fitted at the waist with a full gathered tier.

For both these t-shirts, I used this free t-shirt pattern from Liberty Jane Clothing. I've often had bad experiences with free patterns, and was prepared to make modifications with this one, but was actually pleasantly surprised. I love the whole look and fit of the finished t-shirt, and it's so easy and quick to make - I can whip one out in about 20 minutes, now. Both these outfits are now for sale in the Shoppe!

Do you have any thrifty, crafty projects you've been working on this week?

Monday, July 9, 2012

Lots of New Sewing Projects!

I (and the sewing machines!) have been busy lately, and here are some previews of my latest projects. For those that are listed in the shops, you can visit the links to see more pictures.

I ran across the fabric while browsing at our local fabric 'warehouse' and it was love at first sight. I bought the rest of the piece which was a 3/4 yard cut and turned it into my first pillowcase dress. It was incredibly easy! I decided to add the contrasting ruffle and yo yo flower as an extra girly touch to an otherwise plain dress.

This dress was made entirely from my infamous fabric stash, button and all! Since the fabrics and colors are so 'autumn-y' I made the dress with 3/4-long sleeves for cooler weather. I think I may be making another one soon with short sleeves.

I love the way this one turned out! These two fabrics matched perfectly and the red bias tape is a perfect accent! Plus, the pattern is one of my own designs which makes it easier to use. :) I have more of this fabric, so I might be trying a peasant dress with these two next!

 Welcome the first in my new line of sewing patterns, just released today! I love the way these flowers came out, and sewn onto headbands modeled by these two adorable little girls...what could be cuter???!!!

Coming soon...the Ruffled Camera Strap Cover Pattern/Tutorial!
I just finished this one recently and am really excited about getting some pictures soon and making this pattern available in the Shoppe! Don't worry...this one I made is so much prettier than how the iPod picture shows it! :)

Friday, July 6, 2012

Sewing Ruffles

I was working on a new project yesterday that involved ruffles - lots of them! I guess my newer Singer I was using decided not to do them. It always has had a problem with ruffles and sewing smoothly through lots of layers. It clanks and clacks and chews up the fabric. It was then that I saw the perfect opportunity to test a theory of mine - that the Remington is a smoother stitcher.

See, that's about 30" of ruffles; the Remington did over 25" of it. And it did it perfectly! No protests of chewing of fabric. And it goes smoothly over pins too! 

I love these Singer clones - they're sturdy little machines with lots of power, a beautiful stitch once they're timed and adjusted correctly, a quiet humming sound, and are very smooth, even stitchers, even through lots of layers. I almost love using the Remington better than any of my other machines! Oh, and did I mention that the Remington just got a twin brother? More on that coming soon!

Tuesday, June 19, 2012

A Tale of Two Treadles - Episode 3

So what's happened to Treadle 1? I was able to get back to it today and found it in awful shape. Before, I could move the needle by yanking on the wheel until it made another half-rotation and I'd have to yank it around again to finish the motion of the needle, but today there was no response and the wheel spun freely without turning the needle. The main shaft seems to be locked.

This one's pretty too, but has some really rusty spots and has definitely seen better days

The main shaft is supposed to turn at the line indicated by the red arrow


And the end of the story is? ...this beauty is now mine to clear the rest of the payment due from fixing up Treadle 2. I'm not sure yet what I'm going to do with it, but it's mine. :)

I'm exploring several options. One is to save what I can use for parts for other machines and get rid of the rest. The other is to do some restoration. Maybe not quite as drastic as on this fun blog I read, but maybe some of the Evapo-Rust and some strategic new finish might help. We'll see...I've set it aside for now. It's a project that can wait till later and I've got some fun sewing and craft project posts coming up soon.