Tuesday, June 19, 2012

A Tale of Two Treadles - Episode 3

So what's happened to Treadle 1? I was able to get back to it today and found it in awful shape. Before, I could move the needle by yanking on the wheel until it made another half-rotation and I'd have to yank it around again to finish the motion of the needle, but today there was no response and the wheel spun freely without turning the needle. The main shaft seems to be locked.

This one's pretty too, but has some really rusty spots and has definitely seen better days

The main shaft is supposed to turn at the line indicated by the red arrow


And the end of the story is? ...this beauty is now mine to clear the rest of the payment due from fixing up Treadle 2. I'm not sure yet what I'm going to do with it, but it's mine. :)

I'm exploring several options. One is to save what I can use for parts for other machines and get rid of the rest. The other is to do some restoration. Maybe not quite as drastic as on this fun blog I read, but maybe some of the Evapo-Rust and some strategic new finish might help. We'll see...I've set it aside for now. It's a project that can wait till later and I've got some fun sewing and craft project posts coming up soon.

Sunday, June 17, 2012

A Tale of Two Treadles - Episode 2

So Treadle 2 won - it was the prettiest one and in the best condition of the two, both mechanically and cosmetically.  Here it is, all fixed up and ready to go back in the table at a friend's thrift shop. It sews too and does a fine, beautiful, even stitch.

I did something with these two machines that does not come highly recommended - we took a bath. Yes, I did some research on doing that first. :) After I stripped them both of all their large removable parts, we went out to the hose and I washed them completely down and then dried them completely with the hairdryer and re-oiled them. I was careful with making sure they got completely dried, but the oil will also help prevent rust from any water I may have missed. Needless to say, it's not recommended that you do this, but these were just so filthy.

I love how the thread comes down diagonally across the front of the machine - it's a lovely little charm that Singer seemed to do away with soon after.

See, that's the filthy machine of the previous post! There was a shiny little black beauty under all that grime.

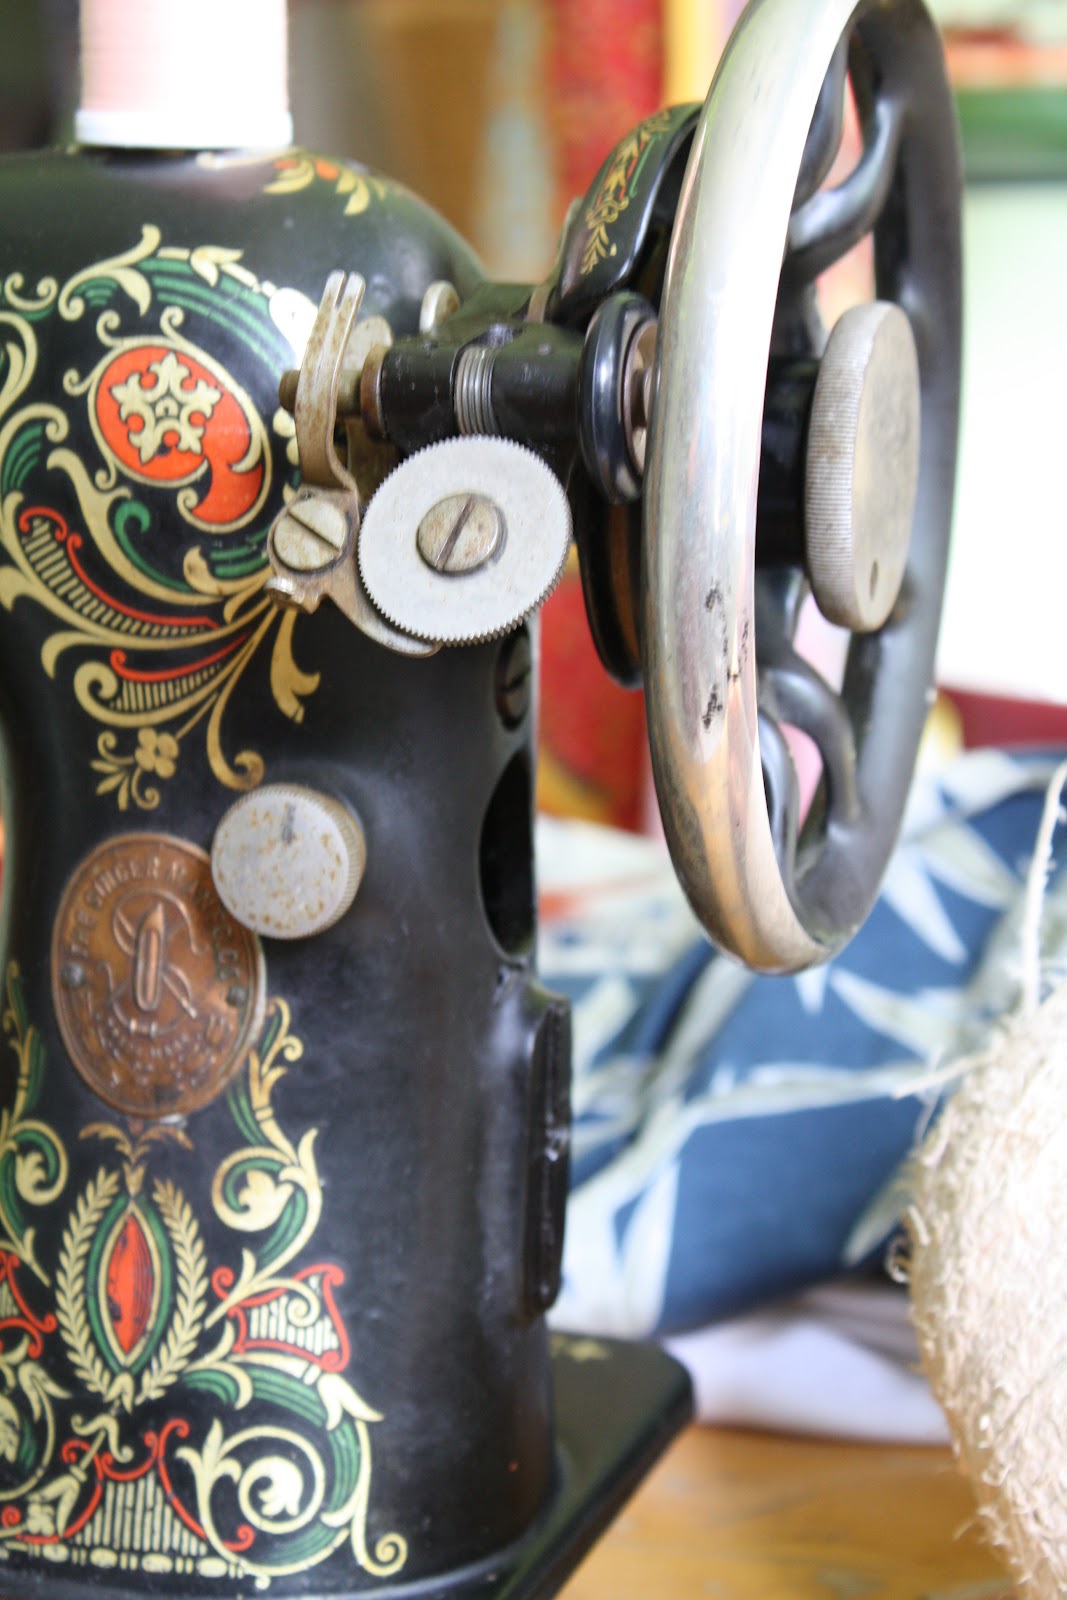
The oriental-style decals on this machine are still in lovely condition

A view from another angle


Now to finish oiling and re-assembling Treadle 1!

Monday, June 11, 2012

A Tale of Two Treadles - Episode 1

Meet my newest sewing machine repair project - the two treadles! Again, these are for a friend, and I don't have the cabinets, just the heads.

This is the project - I need to pick the best one, mechanically and cosmetically, and repair that one. That one will then go back in the table with the new belt and the other one will be sold as-is for parts or repair. Personally, I'm loving these two not-so-little treadle machines already!


Here they are - Treadle 1 at the right in the front, and Treadle 2 at the left in the back. Although I haven't cleaned them yet, Treadle 2 looks like the one in best condition, both cosmetically and mechanically.

Closeup of Treadle 1 - missing a bobbin, bobbin case slide plate, has the decals coming off somewhat on the bed, and has a very, very bad sticking handwheel, but for the most part, those are all easily fixed.

Closeup of Treadle 2 - by far the dirtier one, this one though looks in the best condition. It has the bobbin, bobbin case slide plate, and everything seems to turn smoothly.

See what I mean? And I get to clean that! :)

On Saturday morning, I stripped both of all their major removable parts for a cleaning, excepting one screw on the needle plate of Treadle 1 and the back access hole cover screw of Treadle 2. I set those to soak in WD-40 for 24 hours. That usually does the trick. The next morning, the needle plate screw came out, but 36 hours later, the back access hole cover screw is not budging. Tomorrow, if it's sunny, it's time to take it to the next level to get that screw out. Stay tuned!

Saturday, June 9, 2012

More Machines...

I recently had the opportunity to fix up these two machines for a friend. There wasn't anything really wrong with them - both just needed new needles and a cleaning and oiling. Both were really pretty machines.

 The International was a twin brother to my Remington, except for a few smaller details. Some of my favorite differences were the patterned face plate and the seam allowance markings on the needle plate.

This one was the second Singer Featherweight 221 I've worked on. This one was just a little newer than the other one, with a newer upper tension assembly with the numbered dial, and a little shinier!

Check back next week for my current, exciting sewing machine repair (hint: restoration) project!

Lots of New Projects in the Works...

Life has been keeping me busy, and obviously, I haven't been able to post as much as I would like to! However, here's a sneak peak of some fun posts I have in the works. I suppose that if a quiet blog is a sign of much work getting done, I must have gotten a lot done lately. :)

These cute critters are my recent big sewing project! I already had the pink and green minky and the pink fleece, and when I picked up a big roll of green fleece from the Walmart fabric remnants bin, that added the final touch to this idea. Coming soon is a post about the owls and a basic tutorial on how I designed the pattern.

I was supposed to have an applique tie onesie tutorial posted this week, but my machine had other plans and decided to misbehave. I think I can still salvage the project as a gift, but I'll have to start another one with a different machine for the tutorial.

I just finished my first pom pom blanket for the shop using Sundance Shaggy Pom yarn from Herrschners. All I'll say now is that I LOVE working with this fun yarn - and the blanket came out so nice and soft and cuddly.

Friday, May 25, 2012

Pink Cherry Baby Girl Outfit

I've been bitten by the making-newborn-outfits bug, and fortunately, a good friend of ours had a baby girl recently - that amounted to the perfect opportunity to try a new pattern!

I used Butterick 5017, but wasn't overly impressed with the pattern and ended up wishing I'd just designed it myself. She was born at the end of March, so I made the dress 3-6 Months, so she could wear it through the summer. The bodice was a little shorter and wider than I would have liked it, but I think it will work out since Miss A. is a chunk. :)

I decorated each of the tiers on the jumper, and the neck and armholes, with red rick-rack. The dress hem and waist have white rick-rack too for contrast.

I even found a matching cherry button for the back closure that looked like it was made to match the fabric!

No little dress is complete without it's matching accessories - the little bloomers and flower headband! By the time I was finished with the dress, I was getting pretty much to the final scraps of the 1 yard of fabric I had, so I used the bloomer pieces from this pattern, but modified them slightly to fit the largest pieces of fabric I had left.

The headband is just a simple yo-yo flower with a red button on one of the stretchy white skinny headbands I use in my shop.

Anyone up for a simple yo-yo flower tutorial?

Saturday, May 19, 2012

The Remington: He Sews!

Remember the Remington's white motor? I decided it was time for a new motor so he would be presentable, and the new black motor came in the mail on Thursday! Now, isn't he handsome?! :) And he sews - all it needed was a new bobbin case, a little more cleaning and oiling, and a new needle.

I discovered that these older Singer look-alikes, along with Singer Featherweight machines take Schmetz needles. They're a german needle and a much higher quality than the color-coded Singer needles from Walmart which these machines will not use. They're a little more expensive, but still pretty readily available and definitely worth it.


I love running the Remington - he has a very smooth sound, a smooth feed of the fabric, and is a very sturdy machine. Now to put him to work on a serious sewing project!


Also, I'm the guest photographer at a friend's photography blog today with this photo!